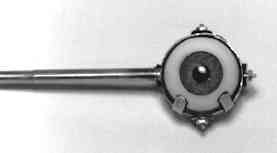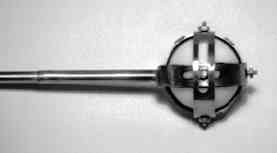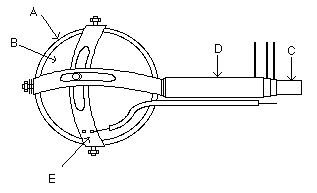

| Arvid's eyes are made entirely out of acrylic. I took sheets of white acrylic and laminated them together using acrylic solvent. From there, I determined where the center of one face was and drilled a 1" hole there. That hole was for the 'cornea'. I put a small length of clear acrylic rod into this hole. On the other side, I drilled a 3/16" hole for a small piece of brass rod (which I did not put in at that time). From there I made a template for the shape of my sphere so that I could check my progress. I then sanded them to shape on a belt sander. Yes I know that that is a hack way of doing that, but when you have to justify everything that you do in the shop that I use, you have to do things the shop way of 100% safe or do it your way when they can't see you. They can see the lathe pretty well from the office, but the belt sander, not really. Anyway, after I did that, I popped out the clear cornea and discarded it. I then made a new one with more curvature. This was only about 3/32" thick at the edge so that it would not appear that the iris was too far into the eye. I then painted the pupil and iris onto the back of this piece and used solvent to put it into place. From there it was a lot of sanding with progressively fine sandpapers and finally a good buffing. The armature around it is brass that is soldered together. In areas that might touch the eyeball, I stuck some felt. |


